By James Pierlioni
Have you ever taken a book out of the library and suddenly it’s due tomorrow but you haven’t yet cracked the cover? We wouldn’t want you to feel rushed like this during your 14-day free trial of RightCapital, so we pulled together a quick guide of how we’d recommend getting to know our financial planning software during that time period. Every advisor is different, so consider this inspiration for your own journey, but we suggest a healthy mix of scheduling time to explore, inputting some real-world examples into the system, taking notes, and asking questions.
Days 1-2: Explore RightCapital’s financial planning platform
Shortly after your demo with a member of our sales team, you will receive an email with your own link to RightCapital. Create a password and boom, you’re in, with a free premium 14-day trial!
Start exploring! There are preloaded sample clients in the advisor portal client list that are prime for investigation. You will find fully loaded samples to match different characteristics of your own client base. As you flip through the tabs, notice sections that are pertinent to your practice and can highlight the power of your recommendations to clients. Uncover sections focused on savings metrics, stress tests, and retirement income sources with stable income percentages.
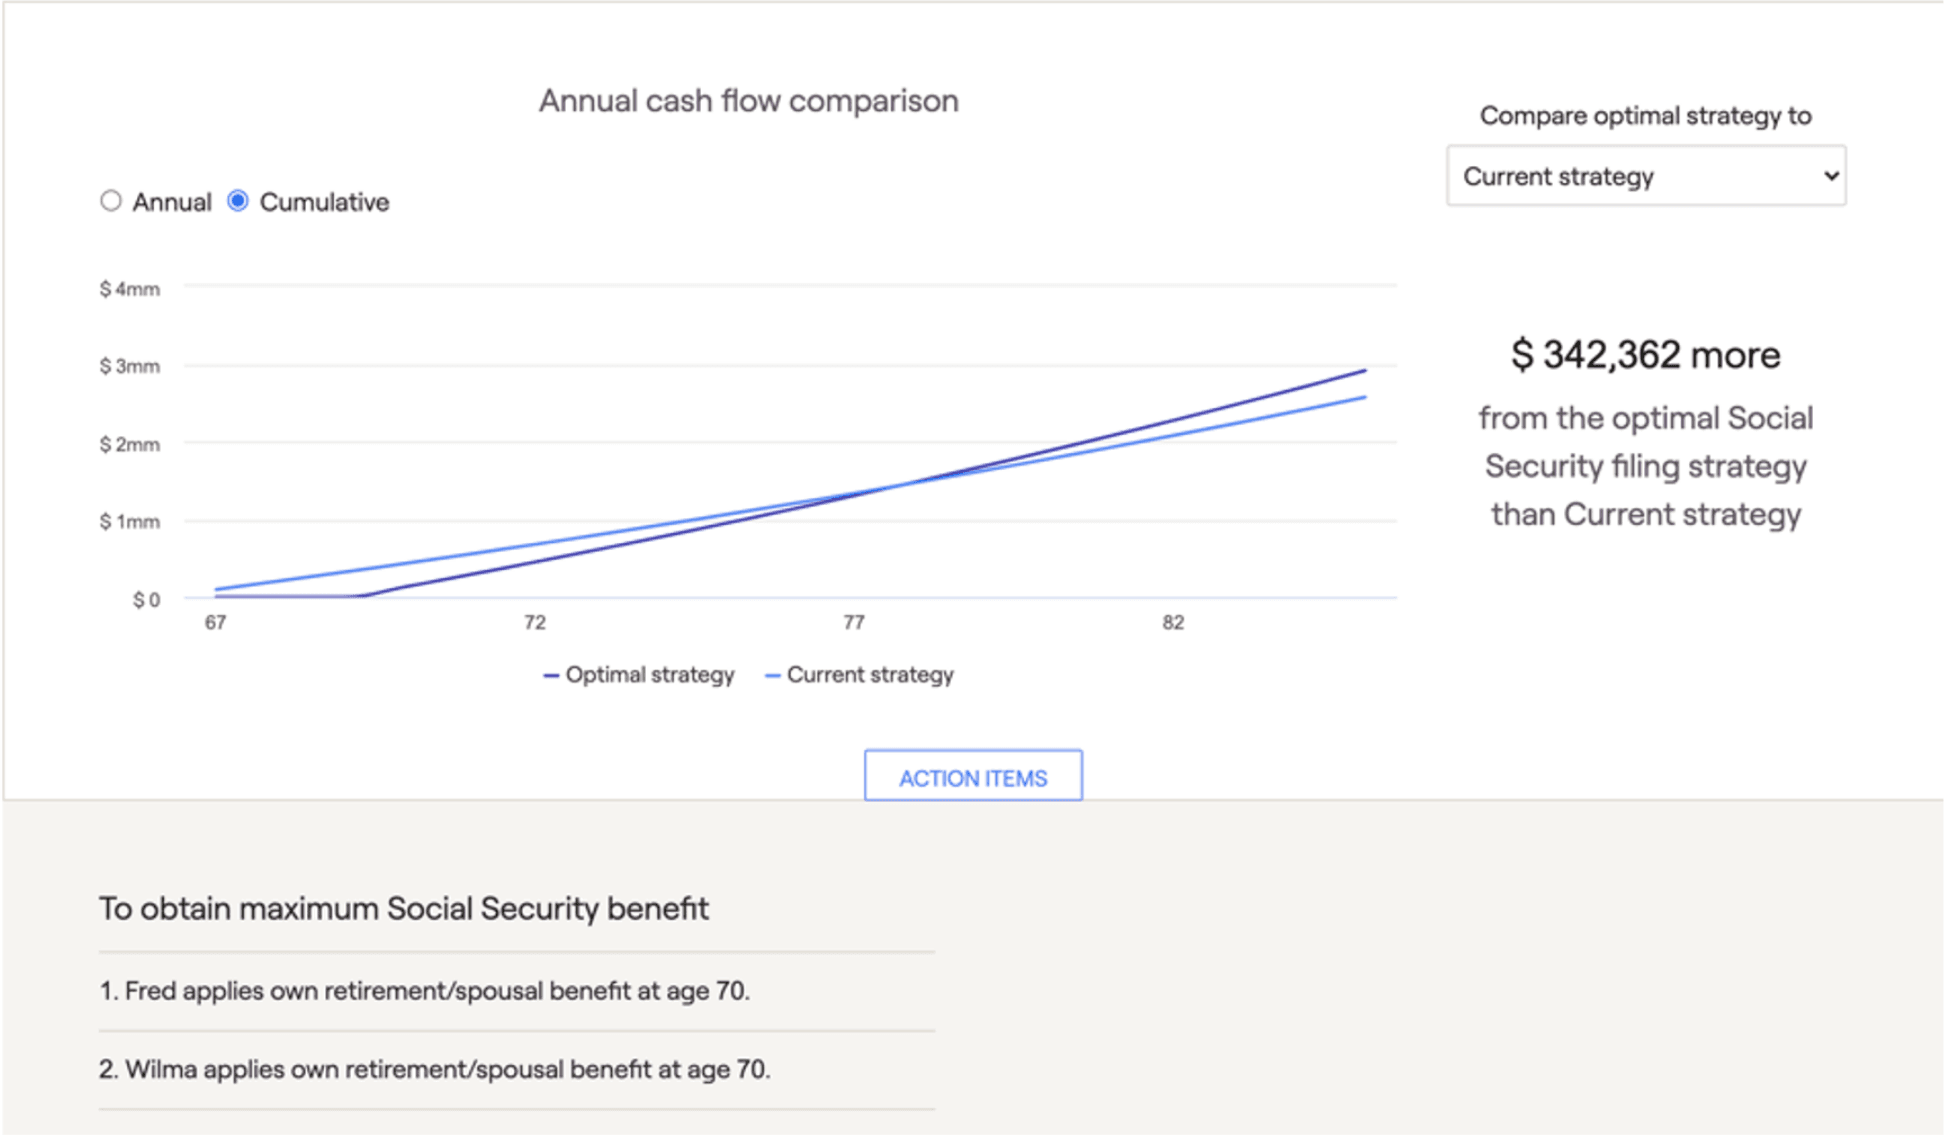
You’ll find that outputs are well defined and easy on the eyes. Bar graphs and pie charts are paired with a variety of benchmarks tailored to your services and client demographics. Discover Social Security optimization and Roth conversion tools that illustrate topics clearly and effectively.

We recommend reading this article in the help center for a good rundown of how to get started, including customization options, integrations, creating your first plan, and more. Watch some webinars to understand functionality, see how the dots connect internally, and get answers to common questions.
Days 3-4: Add some real-life client data
Now that you've gotten your feet wet with sample data, let's dive in with some real-time data of your own.
Pressing the “+ Add a New Client” button, will populate a simple First Name, Last Name, + Email box leading you to a six-step window. Highlights of Family, Income, Savings, Net Worth, Expenses, and Goals grace the top of the screen as you fill in your specifics. Remember you can save time by taking advantage of our integrations to bring in client info from your CRM, link account level data from custodians and aggregators, and import model portfolios.
Travel through the screens with ease and select the “Complete” button in step six to finish this data-gathering window.
This will bring you directly to a balance sheet breaking out the assets and liabilities shown from the net worth page. As you navigate through the tabs at the top of the page, clicking "Profile" leads you through a similar outlay to the six-step process you just completed.
Your most important area of the software will be the profile section as this is the source of a client’s inputs. Filling out the profile to the best of your ability is instrumental as it influences the client’s financial picture.
Days 5-9: Interact with retirement outputs, create a deliverable, and experiment with assumptions and settings
Now is a great time to play around with assumptions and settings. We can find assumptions in the advisor portal and this area will cover asset returns, inflation percentages, and more. See a host of asset classes and historical returns on the asset return tab followed by inflation and miscellaneous tabs that cover other pertinent items.
Settings will be key in customizing plans for different types of clients in your practice. Just as you customize advice and recommendations for your clients, we give you the flexibility to alter the approaches, timelines, and abilities of the software.
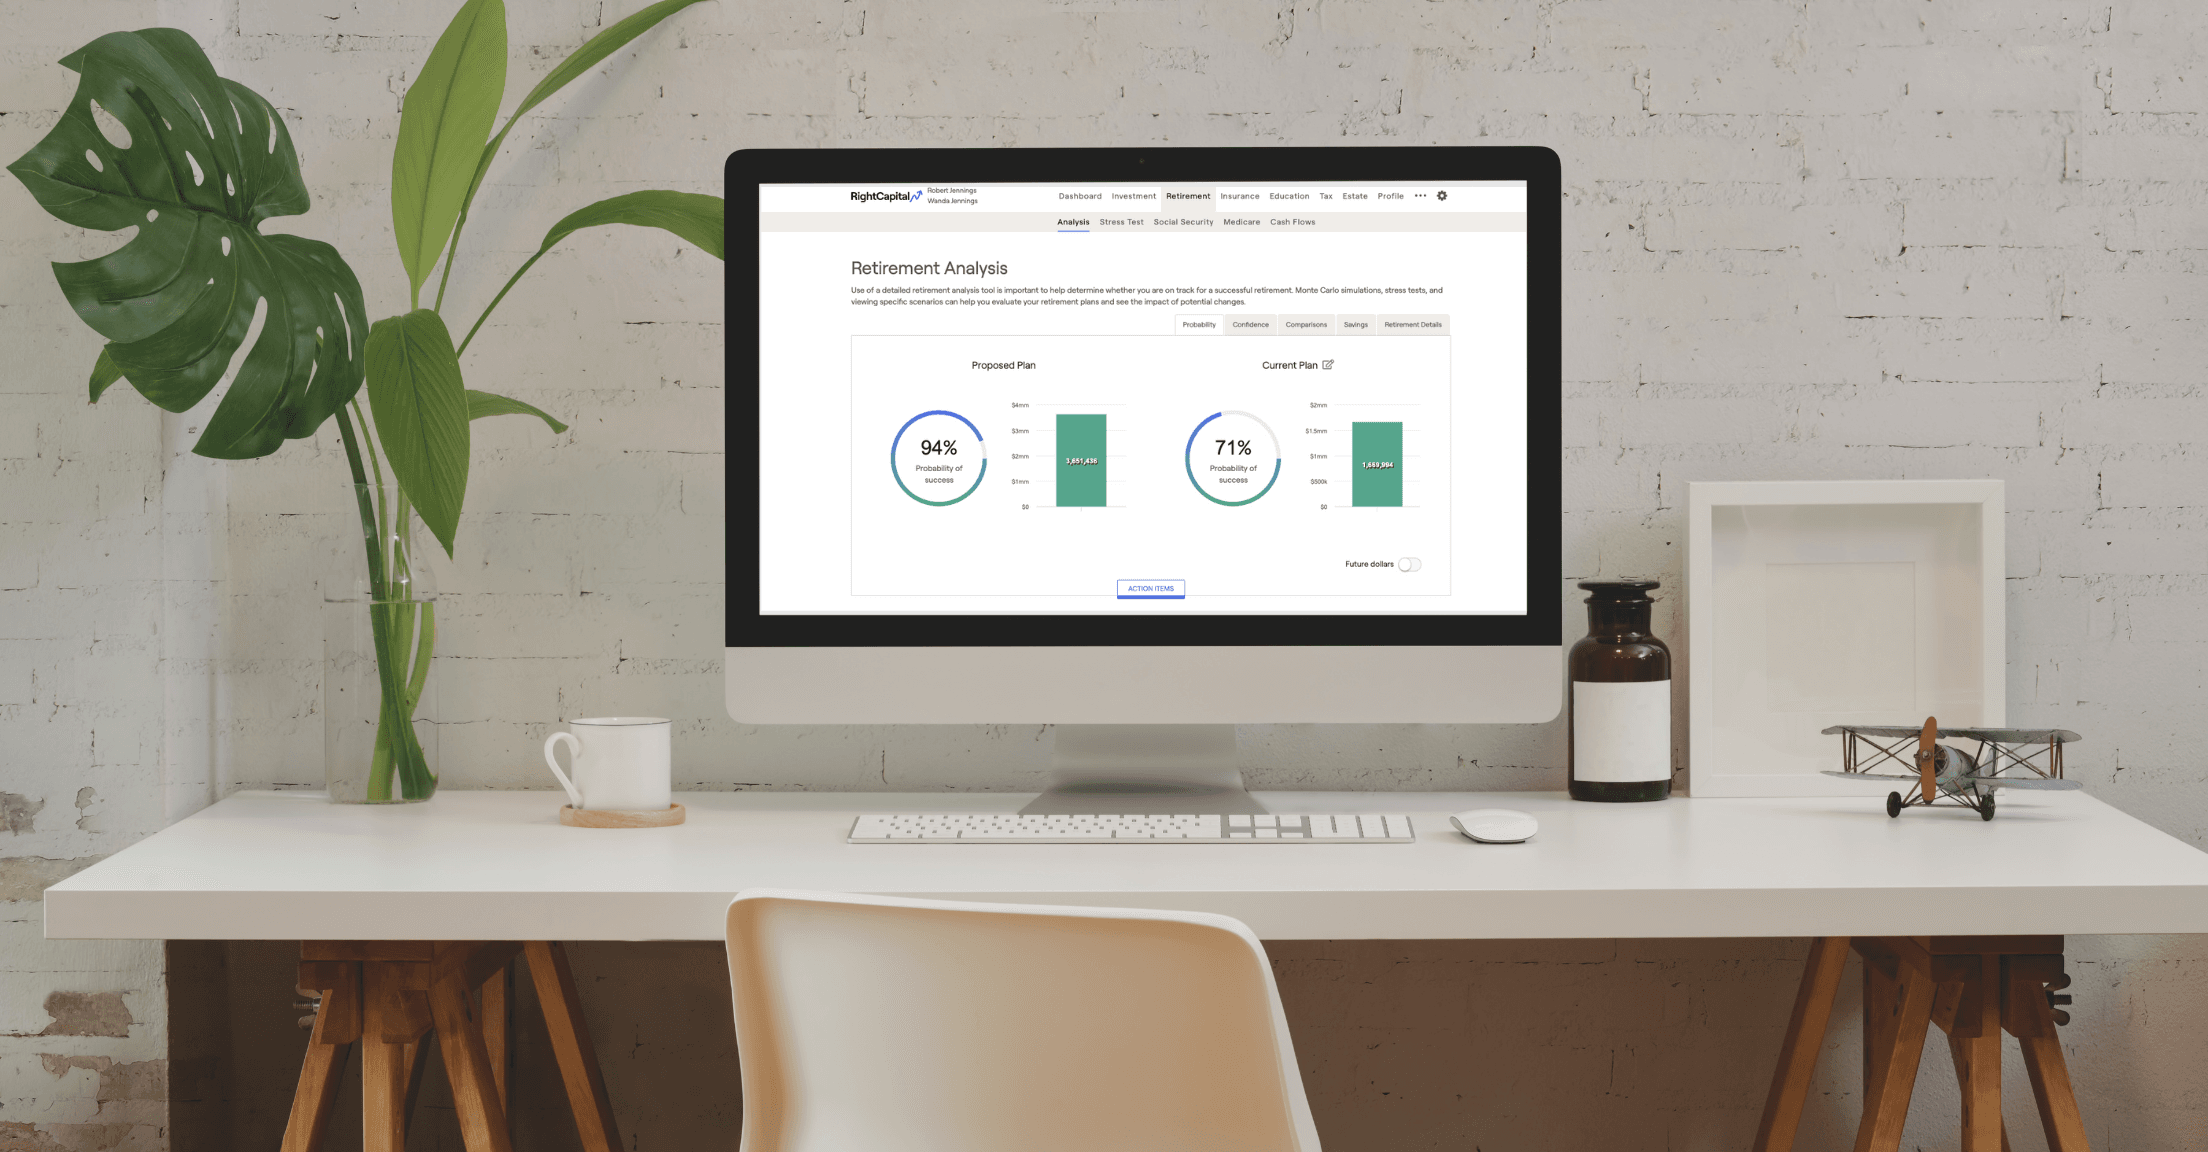
After some time exploring, you are ready to explore a side-by-side comparison. Jumping to the Retirement > Analysis section, a current plan and proposed plan appear alongside another. By clicking on the action items below, you are open to a space where all variables can be customized.
If you would recommend the client save more money, boost up that slider to show the power of saving. If you observe too much tax-deferred allocation, introduce a Roth conversion strategy with a distribution proposal. If your clients are currently renting but want to know how much of a house they could afford, try out the primary home relocation goal.
Once you establish a recommendation and refresh, the outputs will be updated in the bar and circle graph above in the proposed plan. Witness the power of saving, investing cash, Roth conversions, or whatever else you recommend!
With “probability of success” improved, you’ll want to see how a report looks. The three dots in the top right lead you to our reporting tool with a breakout of all modules in RightCapital paired with checkboxes. Here, you can customize the sections included in the deliverable and with a click of “download selected pages”, the PDF is all yours.
Days 10-12: Get to know the support team
New software can be exciting and leads to questions both simple and more complex as you move along. Our top-rated support team is ready and willing to help you throughout your journey.

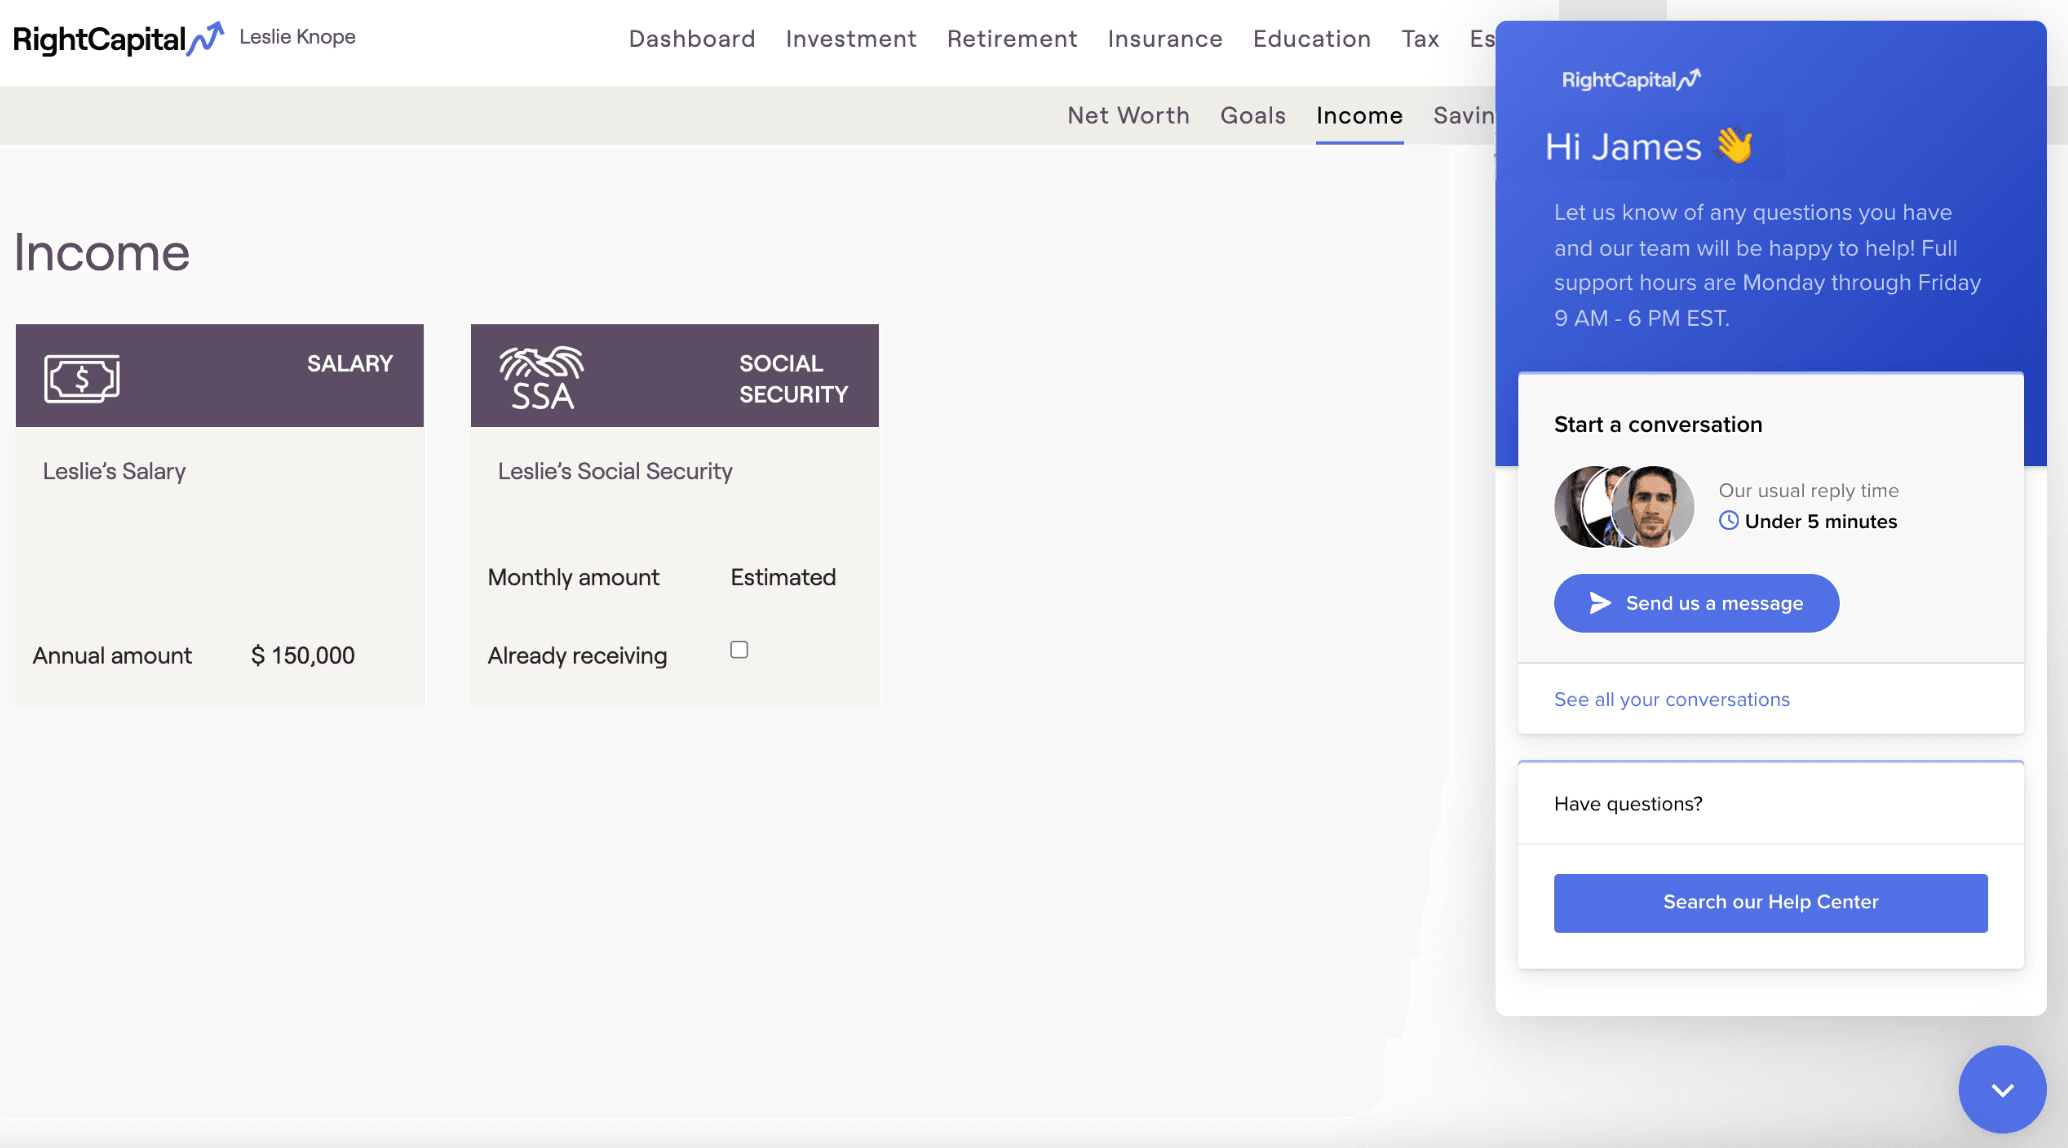
At RightCapital, we want to blow past any sort of “acceptable level of assistance” industry norms to make your experience memorable. There are multiple ways to connect with our support team. Traditional forums including email and a phone call are used by advisors every day. We have a chat medium available built into the software for easy Q+As with a support associate. If you’d like to work side-by-side with a trained consultant on a case study, RightCapital offers scheduled calls that fit into your calendar.
Days 13-14: Make a decision

At this point, hopefully you’ve spent enough time in RightCapital to determine if it’s the right solution for you. If you’d like to use the financial planning software with the highest user satisfaction rate according to the Kitces Report, contact your sales rep and let’s define the relationship!